Last Updated on September 18, 2025 by Practical Astrophotography Staff
Astrophotography is one of those pursuits that balances art and science in nearly equal measure. The breathtaking images of distant nebulae, galaxies, and planets that flood the pages of magazines and social media feeds inspire many newcomers to pick up their first telescope with dreams of capturing the cosmos. Yet, for many, the question of what telescope to begin with quickly becomes a maze of conflicting advice, technical jargon, and budget considerations. The truth is that there is no one-size-fits-all telescope for beginners. The best choice depends on your goals, your level of experience, the kind of astrophotography that excites you, and how much time and patience you’re willing to invest in learning the craft.
This article aims to guide you through the often-overwhelming process of choosing your first astrophotography telescope. By understanding how different telescopes work, their strengths and limitations, and how they interact with other critical components like mounts and cameras, you can make a decision that suits your current level and gives you the best possible start in astrophotography.
Understanding the Role of the Telescope
At its core, a telescope for astrophotography has one central job: to gather light. Unlike visual observing, where the human eye is the final destination of that light, astrophotography relies on a camera sensor. The telescope becomes the primary lens for your imaging system, projecting photons from distant stars and galaxies onto your sensor. Because of this, the characteristics of your telescope—its Aperture">Aperture">Aperture">Aperture" target="blank">Aperture, Aperture, Focal Length, focal ratio, and optical design—will shape the kind of images you can capture.
It’s important to remember that the telescope is not the only or even the most important part of the imaging equation. Many beginners mistakenly believe that buying a bigger telescope will immediately translate into better images. In practice, the mount is often the more critical investment for astrophotography, since stability and accurate tracking are what allow for long exposures. Still, your telescope will determine your Field of View, the scale of your targets, and the balance between detail and wide-field imaging.
When starting out, the best telescope is not necessarily the largest or most complex. Instead, it should be forgiving, lightweight enough to handle comfortably, and matched to your mount and camera. Choosing a telescope that is too advanced or difficult to use can lead to frustration, while a more approachable option allows you to learn the fundamentals and build skills that can be applied to more sophisticated instruments later.
Setting Realistic Expectations
Before diving into telescope types, it’s worth setting realistic expectations. Astrophotography is not a hobby where you buy equipment one weekend and produce professional-level images the next. There is a steep learning curve that involves mastering Polar Alignment, guiding, Calibration frames, and image processing. Your first telescope should make this learning curve as manageable as possible.
Beginners often make the mistake of choosing telescopes with very long focal lengths, such as large Schmidt-Cassegrain or Ritchey-Chrétien instruments, in the belief that magnification is the key to astrophotography. While these scopes can deliver incredible images in the hands of an experienced imager, they are unforgiving for newcomers. The narrow field of view makes finding and framing targets difficult, and the high demands on tracking accuracy can overwhelm a beginner’s mount.
Instead, a more modest wide-field telescope with a short focal length will allow you to capture large, bright nebulae and star fields while giving you plenty of room for error. The images will be rewarding, and the process will teach you the fundamentals without discouragement. The lesson here is that the best beginner telescope is one that helps you succeed sooner, not one that promises the ultimate in resolution but punishes you for every small mistake.
Refractors: The Beginner’s Best Friend
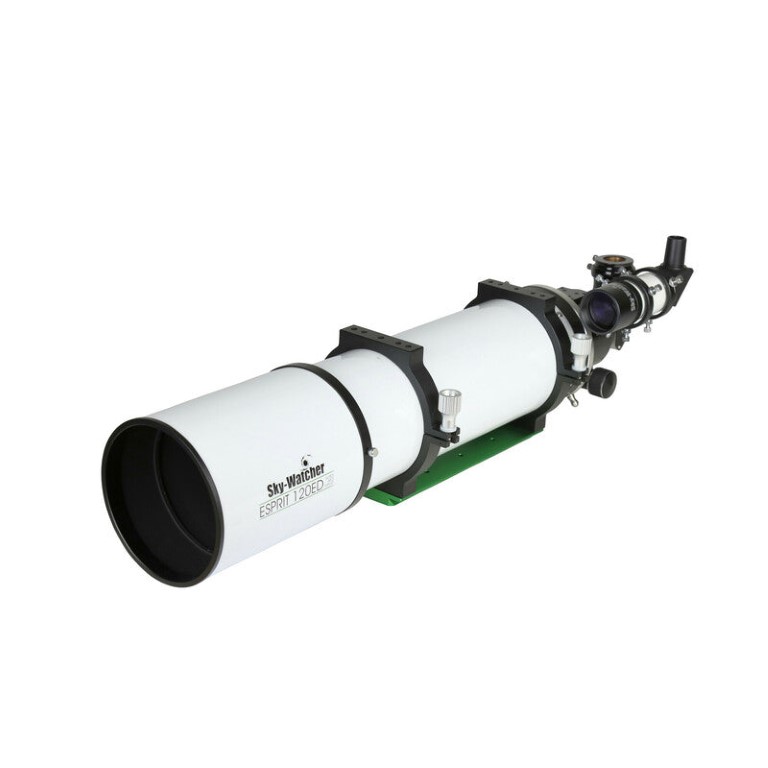
For most newcomers to astrophotography, refractors offer the smoothest path into the hobby. These telescopes use lenses rather than mirrors to gather light and form an image, and they are renowned for their sharpness, contrast, and ease of use.
A good quality apochromatic Refractor">Refractor">Refractor">Refractor , often abbreviated as an APO, is widely considered the gold standard for starting out. Unlike cheaper achromatic refractors, which suffer from chromatic aberration that causes stars to appear with colored fringes, APOs use special glass and multiple lens elements to bring light to focus at the same point. This results in crisp, color-accurate stars and nebulae, which are essential for astrophotography.
One of the biggest advantages of refractors is their simplicity. Unlike reflector telescopes, which require regular Collimation">Collimation">Collimation">Collimation" target="blank">Collimation, Collimation to keep mirrors aligned, refractors rarely need adjustment. This makes them a grab-and-go option, ideal for beginners who want to spend more time imaging and less time tweaking equipment.
The typical beginner refractor for astrophotography falls in the range of 60mm to 100mm aperture with focal lengths between 300mm and 700mm. This combination provides a wide field of view that is perfect for capturing large nebulae such as the North America Nebula, the Rosette Nebula, or the Veil Nebula. It also allows you to frame star clusters and portions of the Milky Way with relative ease.
A refractor in this range is forgiving of mount errors and easier to guide than a longer focal length scope. Many models also accept dedicated field flatteners or reducers, which correct for optical distortions and reduce the focal length for even wider fields. With a refractor, you can grow your skills while producing images that are beautiful and rewarding from the start.
Reflectors: Affordable Aperture and Specialized Options
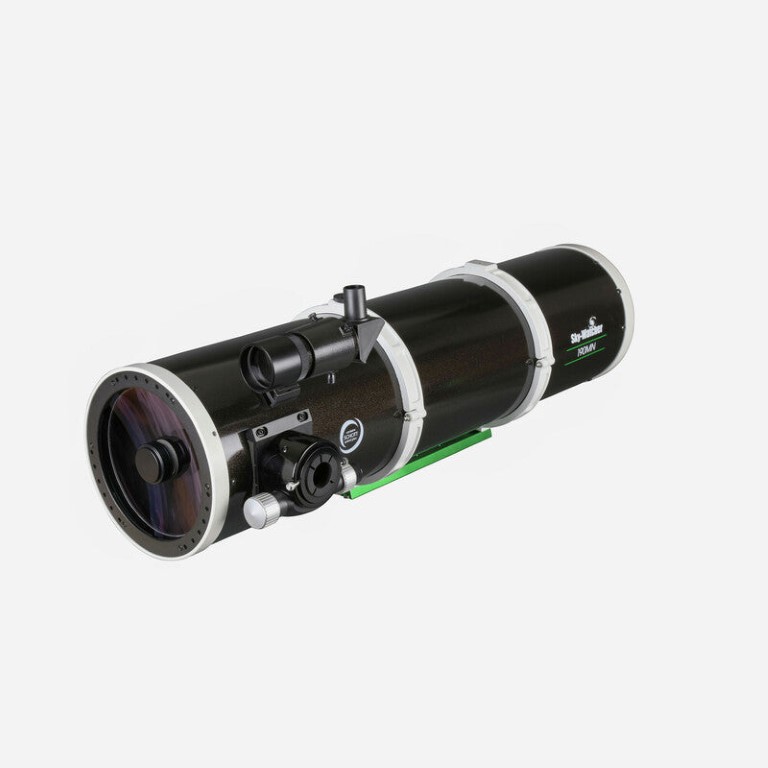
While refractors may be the easiest starting point, reflectors deserve consideration as well. These telescopes use mirrors rather than lenses to gather light, which allows them to be made in larger apertures for lower cost.
The classic Newtonian reflector is a common entry point for beginners who want more light-gathering ability without breaking the bank. A Newtonian in the 6-inch to 8-inch range on a sturdy equatorial mount can be used for deep-sky imaging, particularly of galaxies and smaller nebulae. However, Newtonians require regular collimation and can be prone to issues like coma, where stars at the edge of the field appear distorted. Correctors such as coma correctors can solve these issues, but they add complexity to the setup.
Another category of reflector, the fast Newtonian astrograph, has become popular in recent years. These scopes are designed specifically for astrophotography, with focal ratios as fast as f/4 or f/3.9, allowing for shorter exposures and faster imaging of faint targets. While they can deliver stunning results, they also demand precise collimation and careful setup, which may be daunting for beginners.
Catadioptric reflectors, such as Schmidt-Cassegrains and Maksutov-Cassegrains, combine mirrors and lenses to achieve long focal lengths in compact tubes. These telescopes excel at high-resolution planetary imaging and detailed views of small galaxies, but their narrow fields of view make them challenging for wide-field deep-sky astrophotography. Beginners who dream of capturing Saturn’s rings or Jupiter’s storms might consider one of these scopes for planetary work, but for deep-sky imaging, they are often best left for later stages of the hobby.
The Importance of the Mount
When choosing your first astrophotography telescope, it’s impossible to ignore the role of the mount. In fact, many seasoned imagers will advise that you spend more on the mount than on the telescope itself. This is because no matter how good your telescope is, poor tracking will ruin your images.
An equatorial mount is essential for deep-sky astrophotography. Unlike alt-azimuth mounts, which move up-down and left-right, an equatorial mount is aligned with the Earth’s rotation and can track stars smoothly across the sky. A motorized equatorial mount with GoTo capability and autoguiding support will open the door to long-exposure imaging.
When pairing a telescope with a mount, weight and stability are critical considerations. A common rule of thumb is to use only half of a mount’s rated capacity for astrophotography. For example, if a mount is rated for 30 pounds, plan to keep your telescope and accessories under 15 pounds. This ensures smooth tracking and minimizes vibrations.
For beginners, a small refractor paired with a mid-level equatorial mount is a winning combination. The lightweight refractor places minimal strain on the mount, making guiding easier and producing sharper images. Choosing a heavy reflector on an undersized mount is a recipe for frustration, no matter how impressive the telescope’s specifications might appear.
Matching the Telescope to Your Camera
The relationship between telescope and camera is another factor that shapes your astrophotography experience. Your telescope’s focal length and your camera’s sensor size determine the field of view, while the pixel size of the sensor influences image scale.
With short focal length refractors, many popular astronomy cameras—such as dedicated CMOS astrophotography cameras—pair well, providing wide fields of view that capture sprawling nebulae. A DSLR or mirrorless camera can also be used effectively, especially when starting out, since these cameras have larger sensors and make framing easier.
At longer focal lengths, pixel scale becomes more critical. Small pixels paired with a very long focal length can lead to oversampling, where your system resolves more detail than seeing conditions and tracking accuracy allow. Conversely, large pixels on a short focal length refractor may undersample, though this is usually more forgiving for beginners.
Ultimately, the best telescope for starting out is one that pairs comfortably with your existing camera. If you already own a DSLR, a short refractor will match well. If you plan to use a dedicated cooled astro-camera, you can fine-tune your telescope choice to optimize your field of view and pixel scale.
Portability, Convenience, and Your Observing Site
Beyond the technical specifications, practical considerations also play a huge role in telescope choice. If your telescope is too heavy or cumbersome to set up, you’ll use it less often. The best telescope is the one you actually use, not the one that sits in storage because it feels like too much work to haul outside.
Beginners should carefully consider how and where they will use their telescope. If you live under light-polluted skies and need to travel to a dark site, portability becomes critical. A compact refractor in a padded case and a lightweight mount will be far easier to transport than a large reflector or bulky catadioptric system.
If you have the luxury of a backyard observatory or a permanent pier, portability is less of a concern, and you can consider larger or heavier instruments. But for most beginners, a telescope that can be carried, set up, and aligned in under 30 minutes will see far more use than one that requires an hour of assembly.
Growing Into the Hobby
One of the most important aspects of choosing your first astrophotography telescope is understanding that it doesn’t have to be your forever telescope. Almost every experienced imager owns multiple telescopes, each chosen for a specific purpose. You might start with a short refractor for wide-field nebulae, then later add a longer focal length reflector for galaxies, and eventually a catadioptric for planetary work.
Starting simple gives you the foundation to build on. Once you’ve mastered polar alignment, guiding, focusing, and processing with a forgiving telescope, you’ll be far better equipped to tackle the challenges of more demanding instruments. Choosing a beginner-friendly scope is not a compromise—it’s an investment in your own learning curve and long-term success.
Budgeting Wisely
Another common question for beginners is how much to spend. Astrophotography can be as affordable or as expensive as you allow it to be, but the key is to allocate your budget wisely.
If you have $2000 to spend, it’s better to allocate a significant portion to a solid equatorial mount, a modest refractor, and essential accessories like a field flattener and guiding setup, rather than spending most of the budget on a large telescope. Many successful astrophotographers capture stunning images with relatively small telescopes, while those who overspend on aperture often find themselves upgrading their mount later.
Don’t forget to budget for accessories as well. A good set of mounting rings, a reliable focuser, dew heaters, and software for acquisition and processing all play roles in successful imaging. Your first telescope should leave room in the budget for these essentials rather than consuming every dollar on the tube itself.
Putting It All Together: The Ideal Beginner Setup
If we combine all these considerations, the ideal beginner astrophotography telescope often looks something like this: a small apochromatic refractor in the 70mm to 90mm range, with a focal length between 350mm and 600mm, paired with a reliable equatorial mount capable of carrying twice the weight of the telescope and accessories.
This setup provides a wide field of view for nebulae and star fields, is forgiving of mount errors, easy to transport, and simple to use. It will deliver satisfying images quickly while giving you the skills and experience needed to expand into more complex systems later.
From there, you can grow into specialized telescopes depending on your interests. If you’re drawn to small galaxies, you might add a longer focal length reflector. If planetary imaging excites you, a Schmidt-Cassegrain might join your arsenal. But the first telescope should set you up for success rather than overwhelm you with challenges.
Final Thoughts
Choosing your first astrophotography telescope is as much about knowing yourself as it is about knowing the equipment. Are you someone who values convenience and quick results? A compact refractor is your best bet. Do you have patience for collimation and alignment in pursuit of larger aperture? A reflector might suit you. Are you dreaming specifically of planetary detail? A catadioptric telescope could be your entry point.
Above all, remember that astrophotography is a journey. The telescope you choose today is not your final destination but the first step in a rewarding adventure. By selecting a telescope that matches your level, goals, and lifestyle, you’ll give yourself the best possible start in capturing the wonders of the night sky.